Step-by-Step: Creating Your Own Custom Wooden Furniture


Introduction to Custom Wooden Furniture
Creating your own custom wooden furniture can be a rewarding and fulfilling experience. Not only does it allow you to express your creativity, but it also provides you with unique pieces that perfectly fit your style and space. Whether you're a seasoned woodworker or a beginner, this step-by-step guide will help you bring your vision to life.
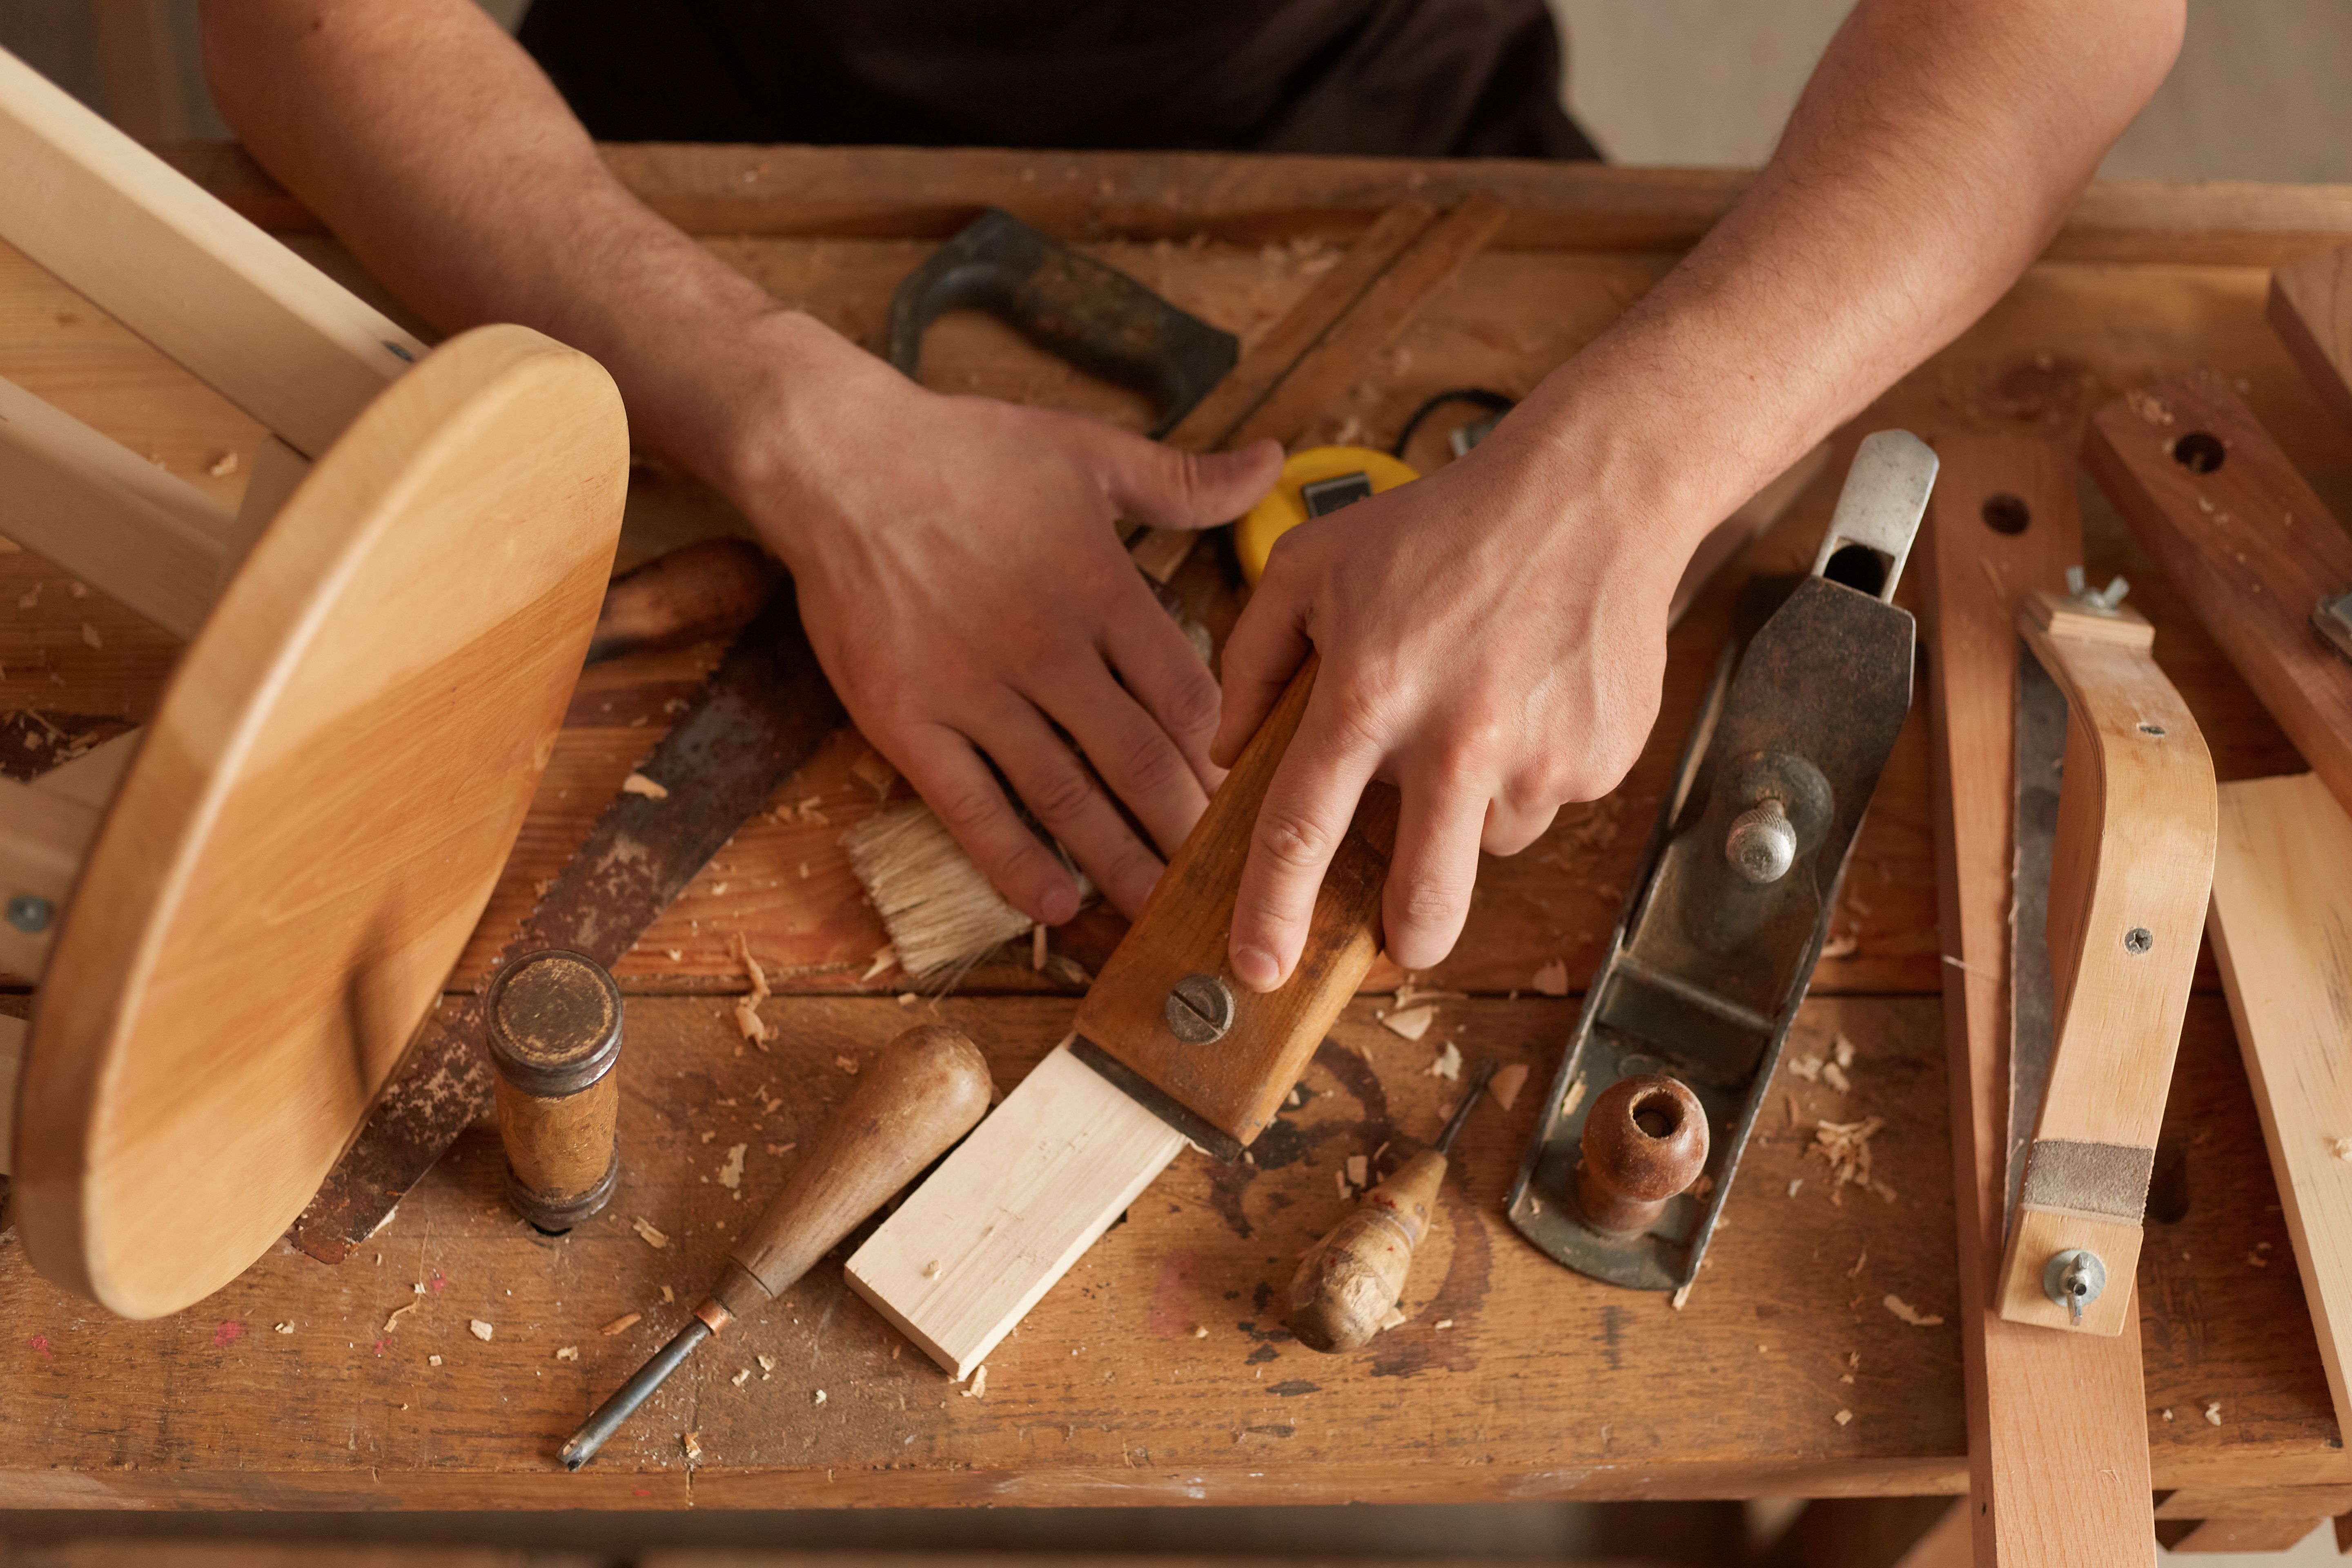
Gathering Your Materials and Tools
Before you begin, it's crucial to gather all necessary materials and tools. You'll need wood that suits the project, such as oak, pine, or walnut. Tools like saws, sanders, and drills are essential for shaping and assembling your furniture. Ensure you have safety gear, including goggles and gloves, to protect yourself during the process.
Once you've collected your materials and tools, take time to sketch your design. This will serve as a blueprint, guiding you through each step. Be sure to measure your space and consider dimensions carefully to ensure a perfect fit.
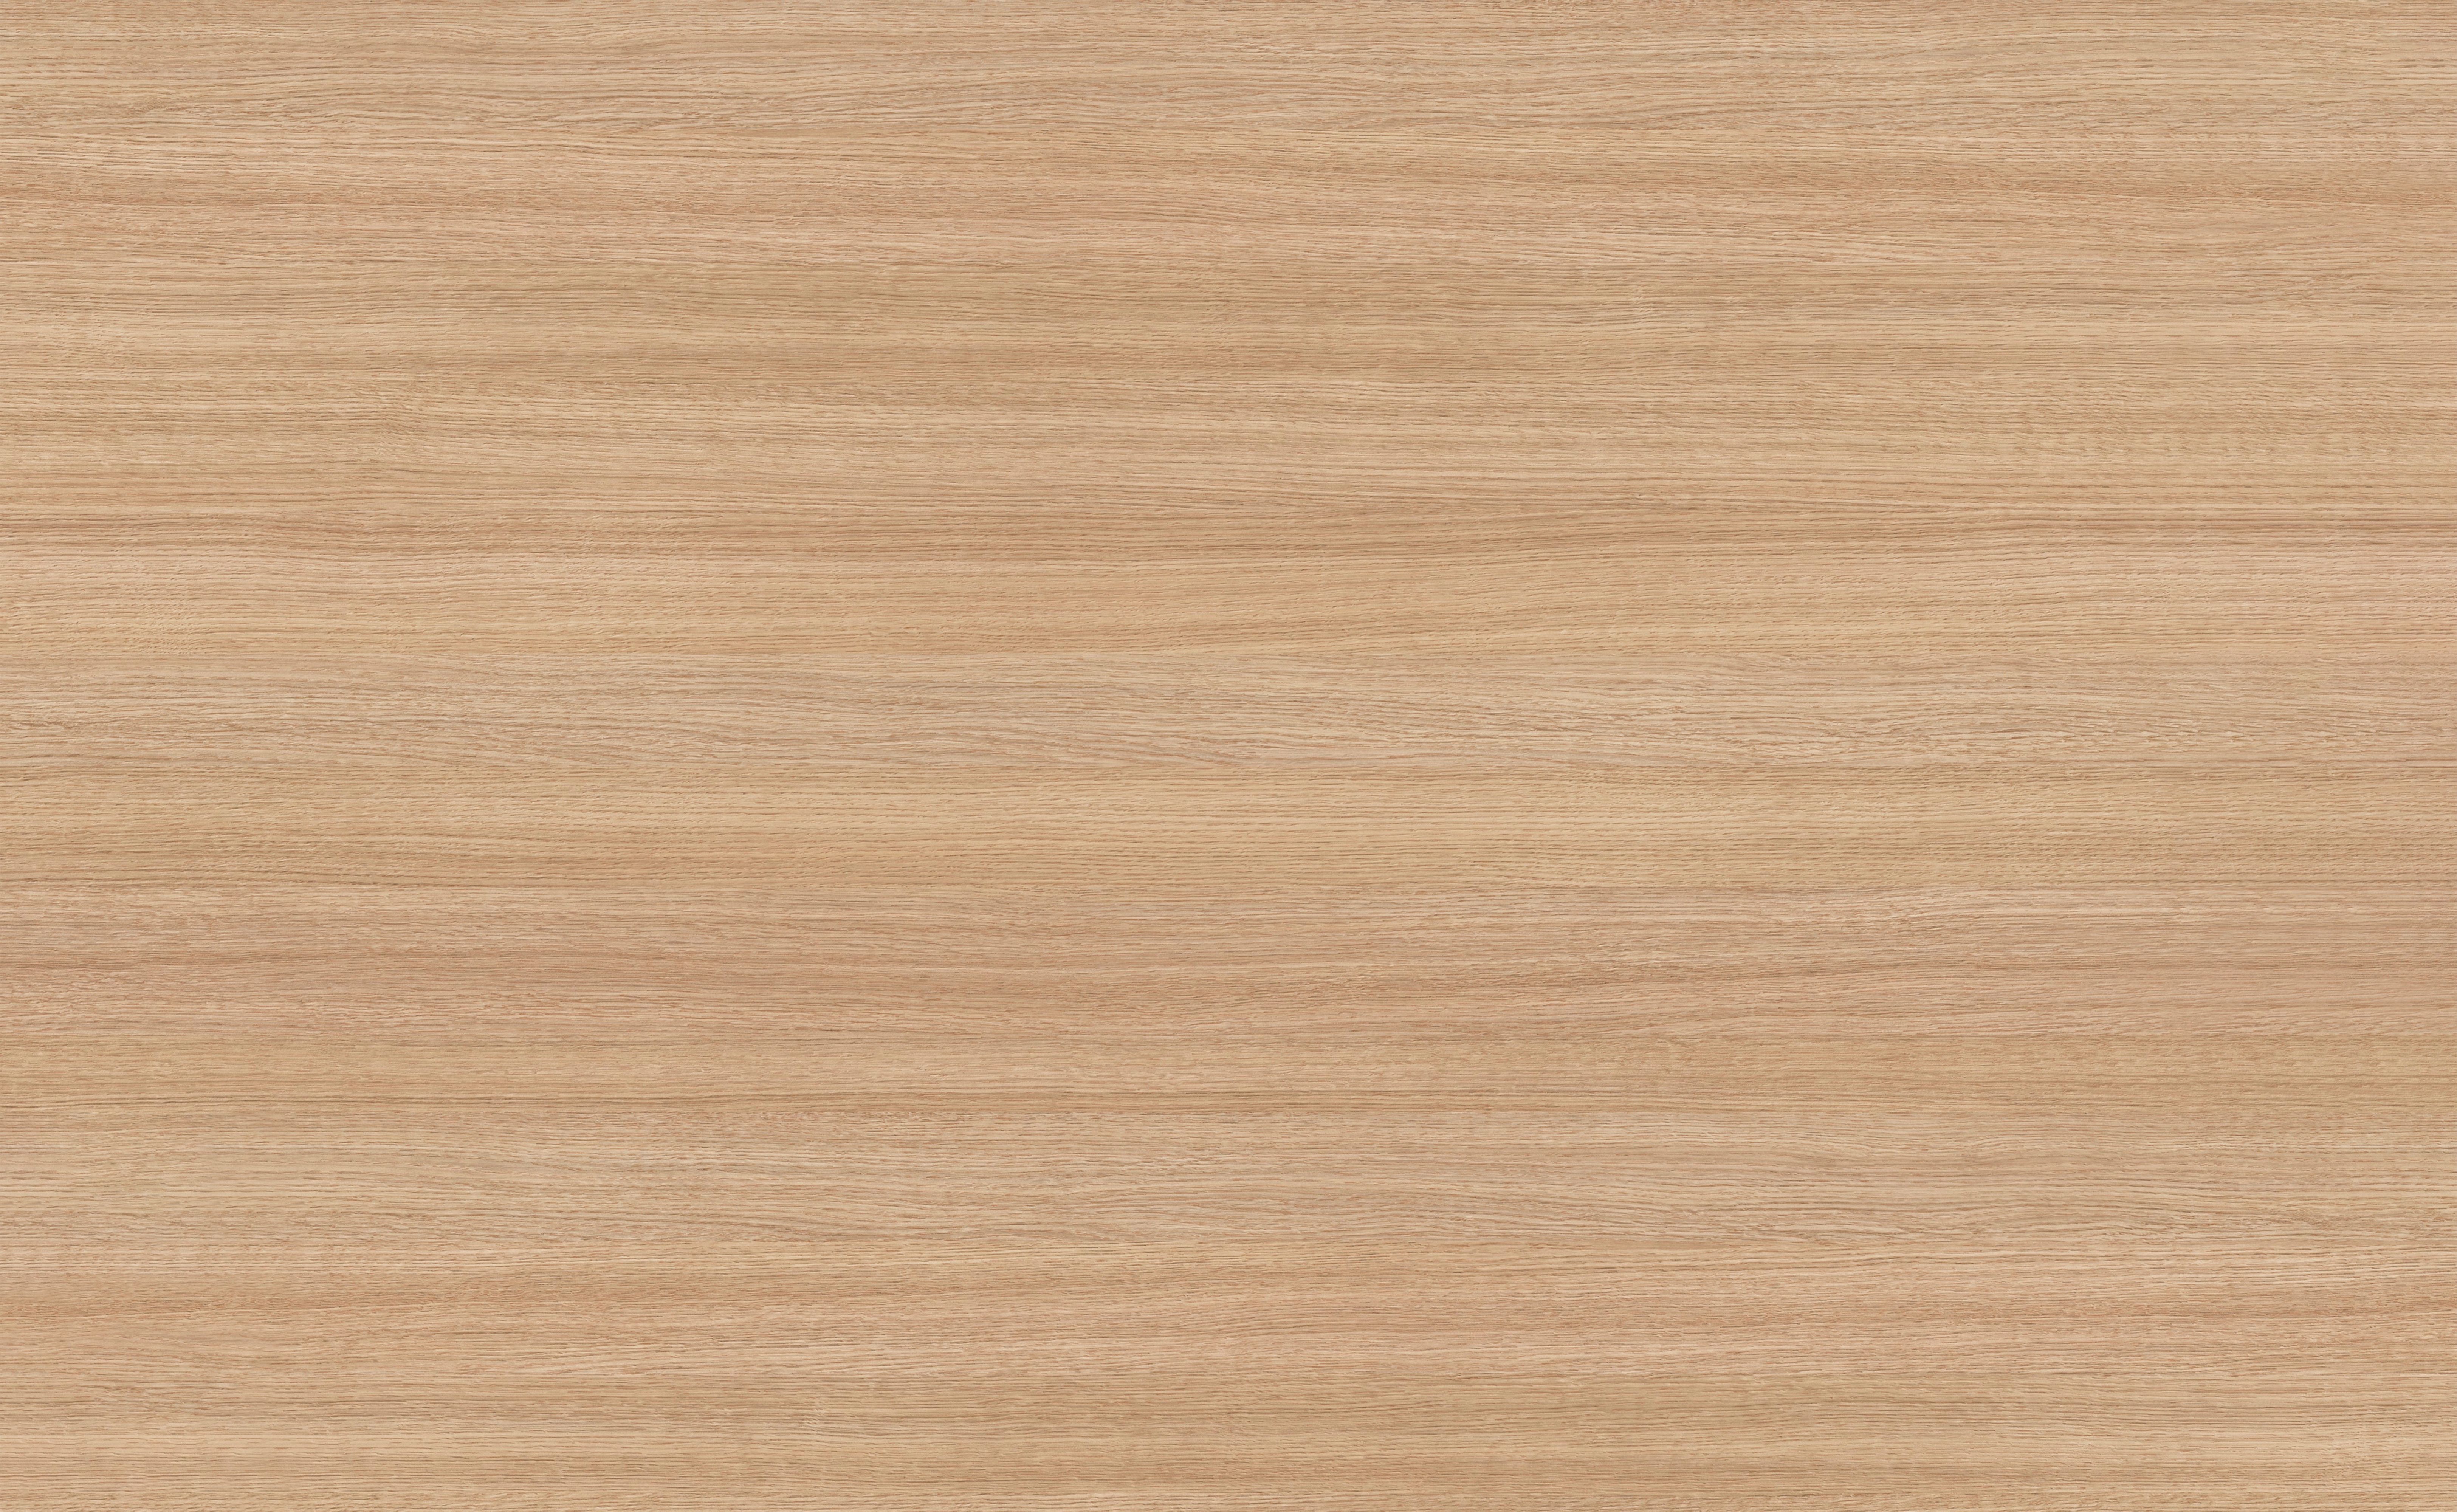
Choosing the Right Wood
The type of wood you choose will greatly influence the final look and durability of your furniture. Hardwoods like oak and maple are excellent for a robust finish, while softer woods like pine are easier to work with for beginners. Consider the grain pattern, color, and hardness when making your selection.
Building Your Furniture Step-by-Step
With your materials ready, it's time to start building. Follow these steps:
- Cut the Wood: Using your design as a guide, cut the wood pieces to size. Precision is key here, so take your time and double-check measurements.
- Assemble the Frame: Begin by assembling the mainframe of your furniture. Use screws or dowels for a sturdy connection.
- Add Details: Once the frame is complete, add any additional details or embellishments. This could include carving, inlays, or other decorative elements.
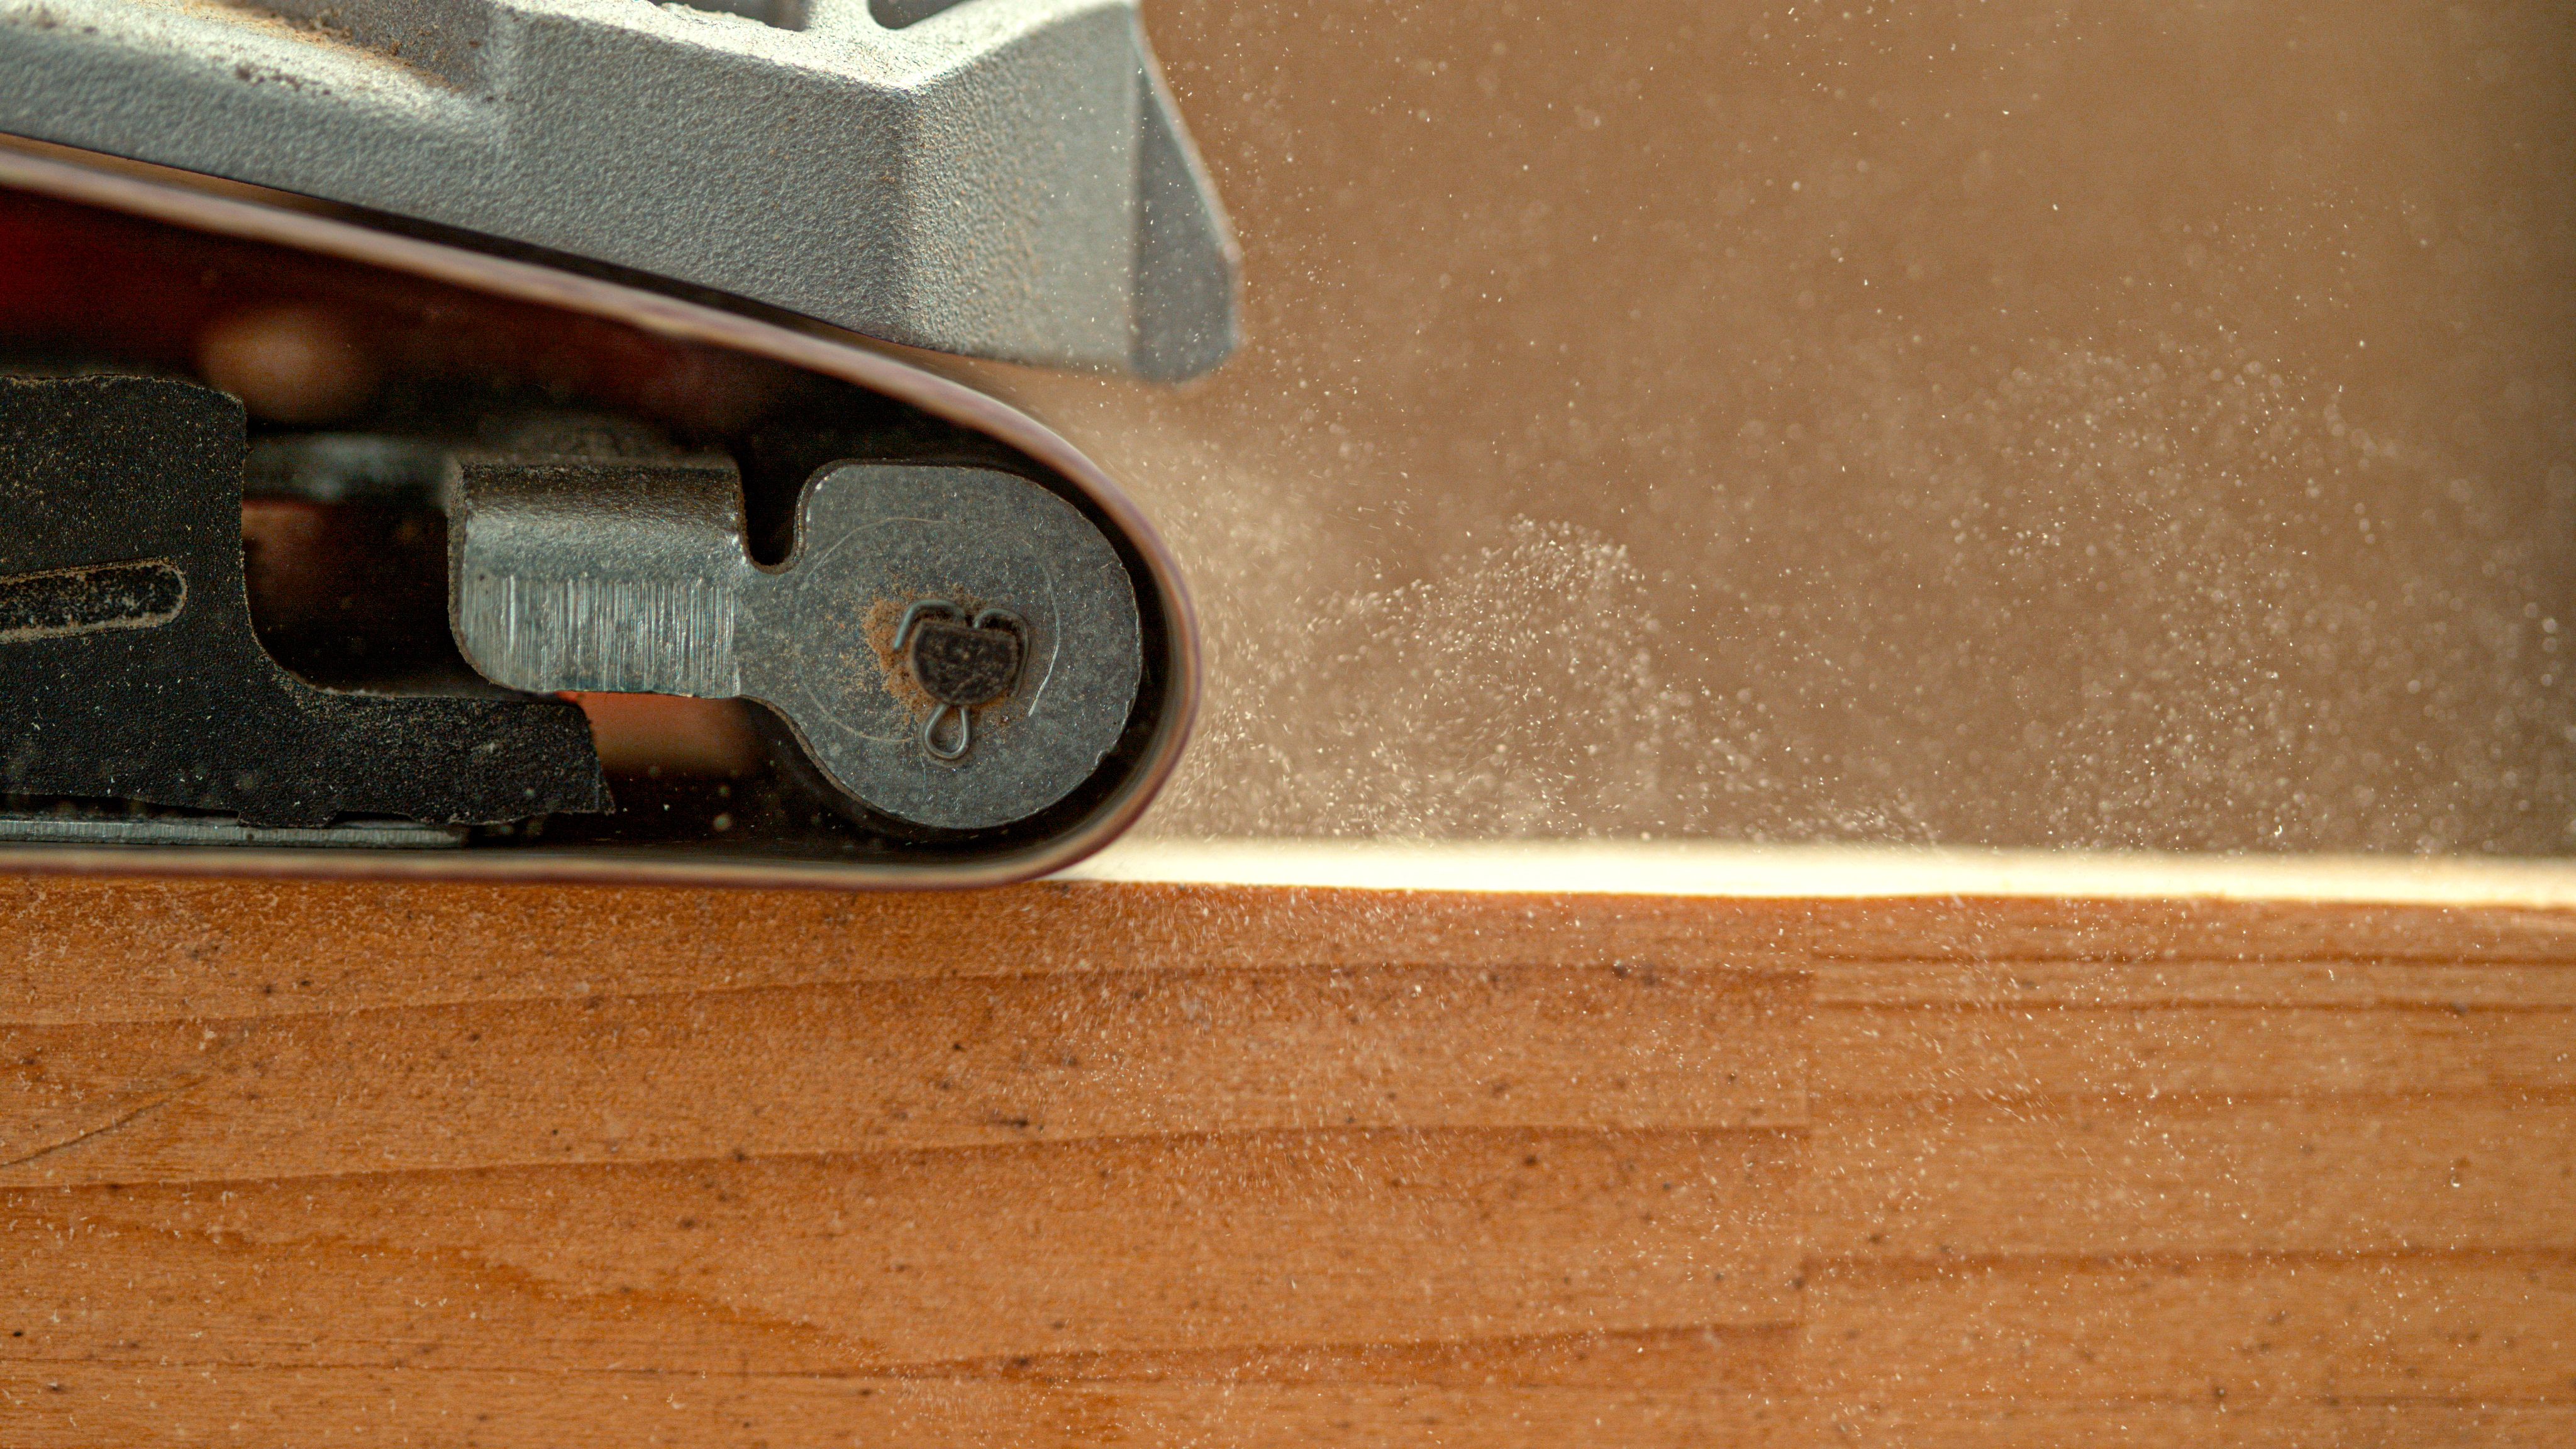
Sanding and Finishing
Sanding is a crucial step in achieving a smooth finish. Start with coarse sandpaper and gradually move to finer grits. This will remove any rough edges and prepare the surface for finishing. Depending on your desired look, you can choose from various finishes such as stain, paint, or varnish.
Final Touches and Maintenance
After finishing, allow the piece to dry completely. Once dry, inspect for any touch-ups or adjustments needed. Adding felt pads to the bottom of legs can prevent scratches on floors. Consider applying a protective sealant to enhance durability.
To maintain your custom wooden furniture, regularly dust it with a soft cloth and avoid placing it in direct sunlight or high humidity areas. With proper care, your piece will last for years.
Celebrating Your Creation
Creating custom wooden furniture is not just about crafting an object; it's about building something special that reflects your personal style and effort. Share your creation with friends and family, and take pride in the work you've accomplished.